Find the drawing
Keep drawing numbers, files and revisions together.
Start with drawings, five activities and one teammate. Use the guide below to complete a useful project workflow without installing extra software.
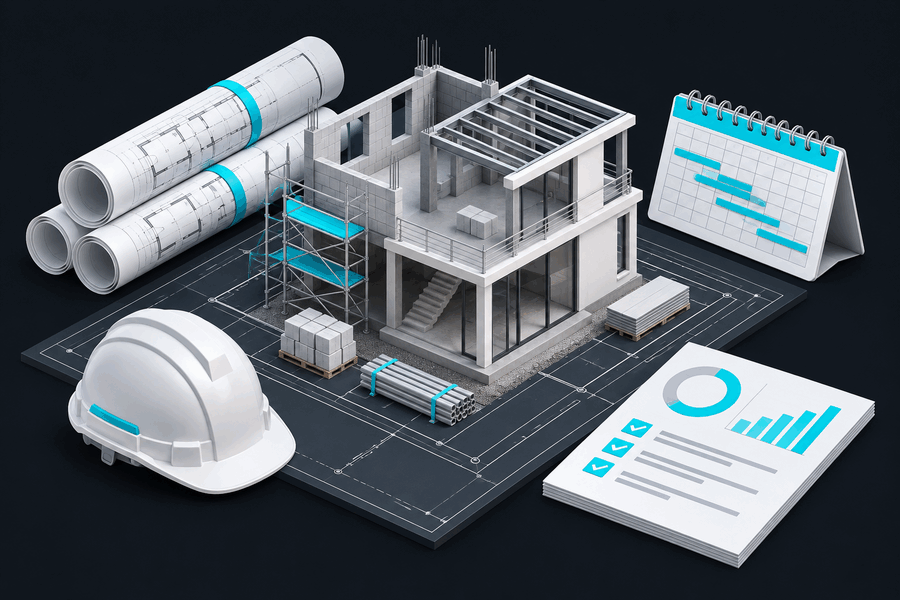
Keep drawing numbers, files and revisions together.
Connect owners, dates and statuses to project work.
Prepare reports from the information your team records.

Sign up, name your company or individual workspace and choose the plan that fits. Review the listed capacity and trial terms before starting.
Create an account
Open the workspace and create a project with a recognisable name. Begin with one live project or a sample, so your team can learn the workflow together.
Open workspace
Upload a small set of authorised project files. Record drawing numbers and revisions in the drawing register, then check that a teammate can find the intended document.
Open drawings in your workspace
Add activities in Tasks or Schedule of Work. Give each one an owner, planned dates and a status. Add prerequisites where the work depends on another activity.
Open project planning
Use the workspace team controls to invite a colleague and choose an appropriate role. Ask them to open the project and update one assigned task.
Open team controls
Record a site update, then prepare a daily progress report or project report using supported saved records. Review dates, content and print layout before sharing it.
Open project reportsFollow the steps above to set up your project. If you need help with an account or a feature, contact support with your workspace name and a description of the issue.
Contact supportPrefer to organise your first issue list in Excel? Download the free drawing-register template with revision fields, status dropdowns and a worked example.
SiteDesk is in early access. An internet connection and authorised sign-in are required. Plan limits and trial terms are shown during signup and in Plans & billing.
No. The core workflow runs in your browser. The optional local Excel connector is a pilot with manual, one-way updates of existing tasks. Its installation, supported fields and limitations are explained on the Excel pilot setup page.
Start with a few drawings and activities. Ask support about your current file formats and available import options before moving a complete project. Keep the original records while you review the result.
Email support@sitedesk.live with the workflow, expected result and what happened. Include your workspace name and a screenshot if useful. Do not include passwords, OTPs or payment-card details.